When you sell custom merchandise gift sets, the products tell only part of your brand story. The packaging also shapes how customers view your products, organize the items, and experience the unboxing process.
A well-designed packaging insert keeps each item in place, separates products with different shapes, and creates a clean presentation. For B2B buyers, retailers, and wholesalers, the right insert also helps control packaging costs and simplify bulk production.
Whether you sell acrylic standees, keychains, badges, lanyards, apparel accessories, or corporate promotional gifts, you need an insert that fits your products, packaging, and sales goals.
In this guide, we explain how to design packaging inserts for custom merchandise gift sets, choose suitable materials, protect products during shipping, and prepare your design for wholesale manufacturing.
1. Define the Purpose of Your Packaging Insert
Before choosing a material or drawing a layout, decide what your packaging insert needs to achieve.
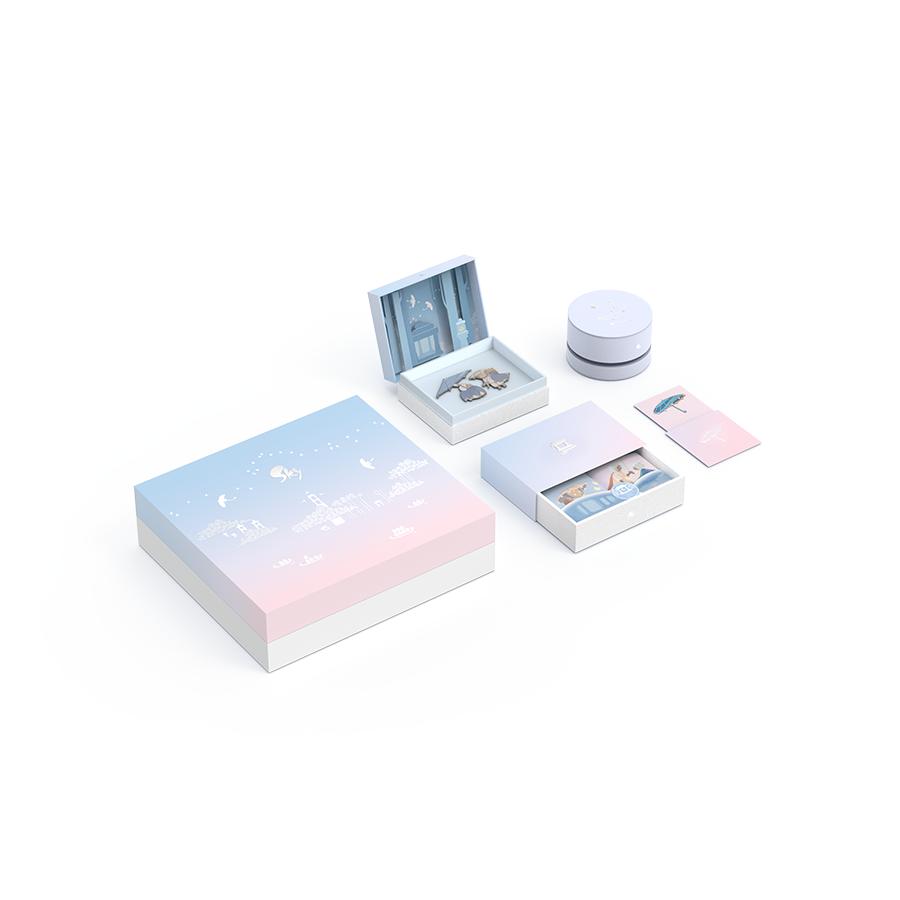
Different gift sets have different packaging requirements. A premium corporate gift set may need an elegant presentation, while an anime merchandise set may need separate compartments for acrylic standees, keychains, badges, and collectible cards.
Start with these four objectives:
- Product protection: Keep each item in place and reduce scratches, movement, and contact between products.
- Visual presentation: Arrange every item neatly so customers can understand the gift set at a glance.
- Brand identity: Use colors, printed graphics, and branded messages to support your visual identity.
- Packaging efficiency: Choose a structure that your team can assemble quickly and your supplier can produce consistently.
You do not need the most complicated insert. You need a design that matches your product mix, target customers, budget, and shipping requirements.
2. Choose the Right Insert Material
Your insert material affects product protection, appearance, unit cost, and assembly time. Consider the product’s weight, shape, surface finish, and expected shipping conditions before making your choice.
Paperboard and Cardboard Inserts
Paperboard and cardboard inserts work well for lightweight merchandise and gift sets that need a clean, printed presentation.
You can use die-cut openings, folded supports, or layered compartments to hold keychains, badges, cards, small accessories, and other lightweight items.
Best for:
- Lightweight promotional gifts
- Paper goods and collectible cards
- Retail-ready gift boxes
- Brand-focused packaging with printed graphics
What to check: Confirm the board thickness, folding structure, cutout dimensions, and resistance to bending. A paper insert may not provide enough support for heavy or sharp-edged products unless you reinforce its structure.
EVA Foam Inserts
EVA foam offers cushioning and a snug fit for products that need more support. You can cut separate cavities for items with different shapes and sizes.
Best for:
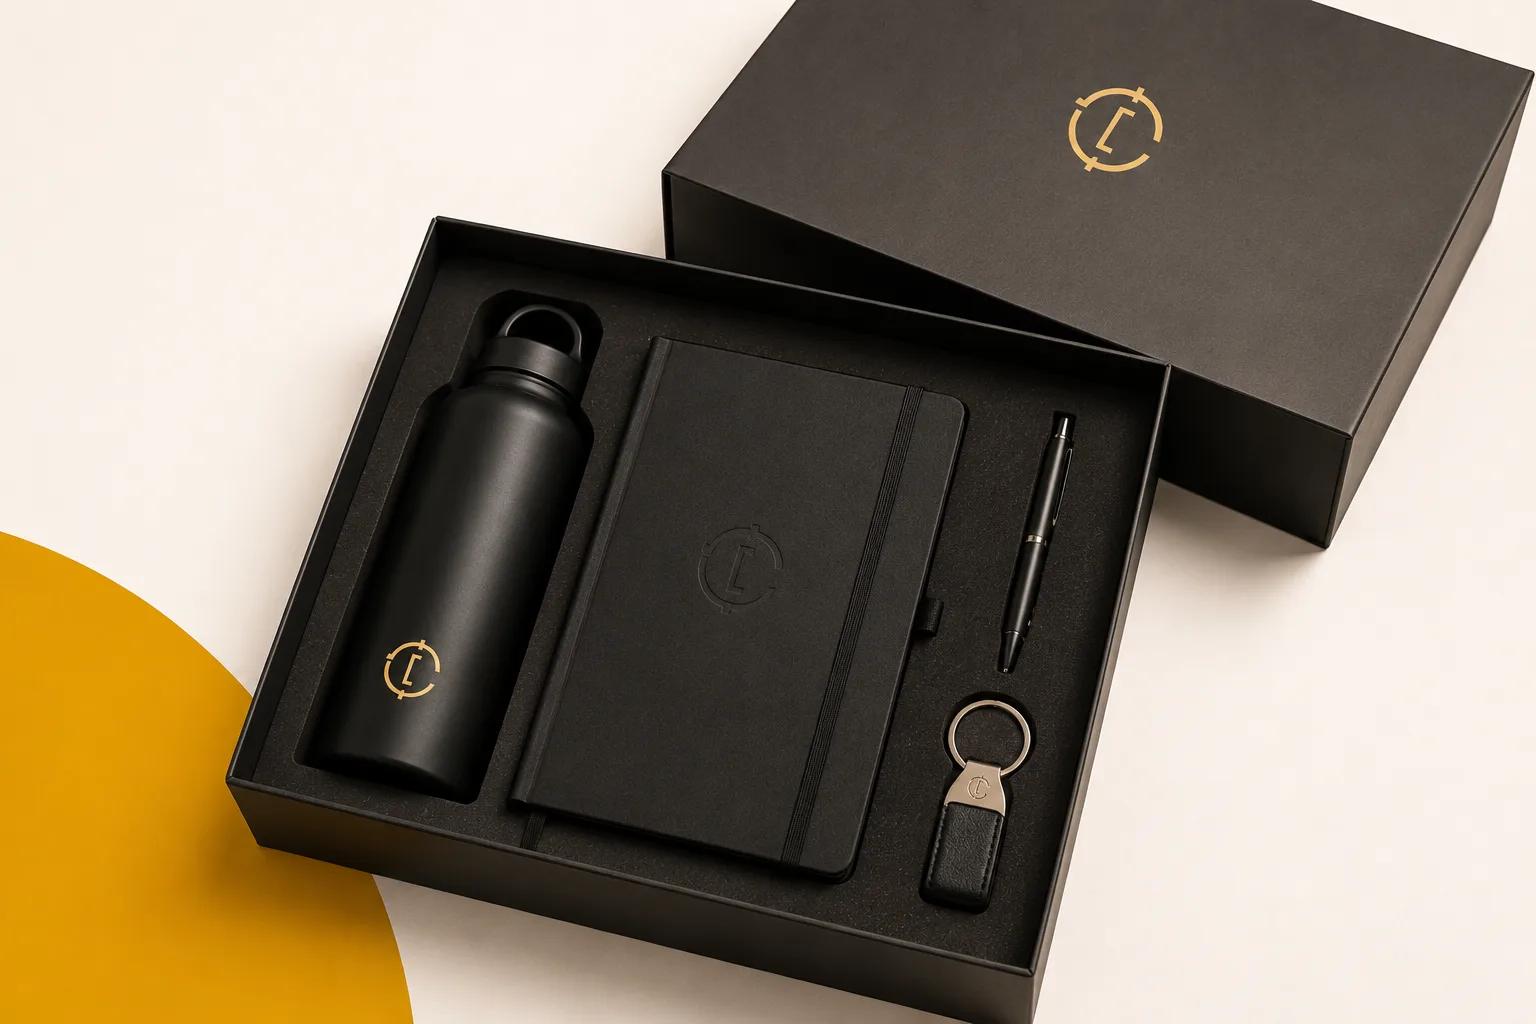
- Premium corporate gift sets
- Heavier promotional products
- Delicate accessories that need individual compartments
- Gift sets with irregular product shapes
What to check: Foam density, cavity depth, cutting accuracy, surface appearance, and fit. Very tight cavities can make products difficult to remove, while loose cavities may allow movement during shipping.
Molded Pulp Inserts
Molded pulp can work well when your packaging strategy emphasizes a paper-based appearance and structured product support.
Best for:
- Selected corporate gift sets
- Products with compatible shapes and weights
- Packaging projects that favor a natural, paper-based look
What to check: Mold design, surface texture, dimensional consistency, and compatibility with your product. Molded pulp may require additional tooling and development, so evaluate the cost against your order quantity and expected repeat orders.
Blister or Plastic Trays
Plastic trays can display individual items clearly and help separate products within a box.
Best for:
- Multi-item merchandise sets
- Products that need clearly defined compartments
- Retail displays where customers want to see each item
What to check: Tray dimensions, material thickness, scratch risk, product fit, and your market’s packaging requirements. Make sure the tray does not scratch printed surfaces or create unnecessary packaging waste.
Material Comparison
| Insert material | Main advantage | Main consideration |
|---|---|---|
| Paperboard/cardboard | Easy to print and customize | May need reinforcement |
| EVA foam | Cushions products and supports custom shapes | Material, cutting, and tooling costs |
| Molded pulp | Structured support with a paper-based appearance | Mold development and shape limitations |
| Plastic tray | Clear compartments and organized display | Scratch risk and material requirements |
Choose materials based on performance, not appearance alone. Your custom packaging manufacturer can help compare suitable options against your product specifications and target budget.
3. Map Out the Product Layout Before Designing the Insert
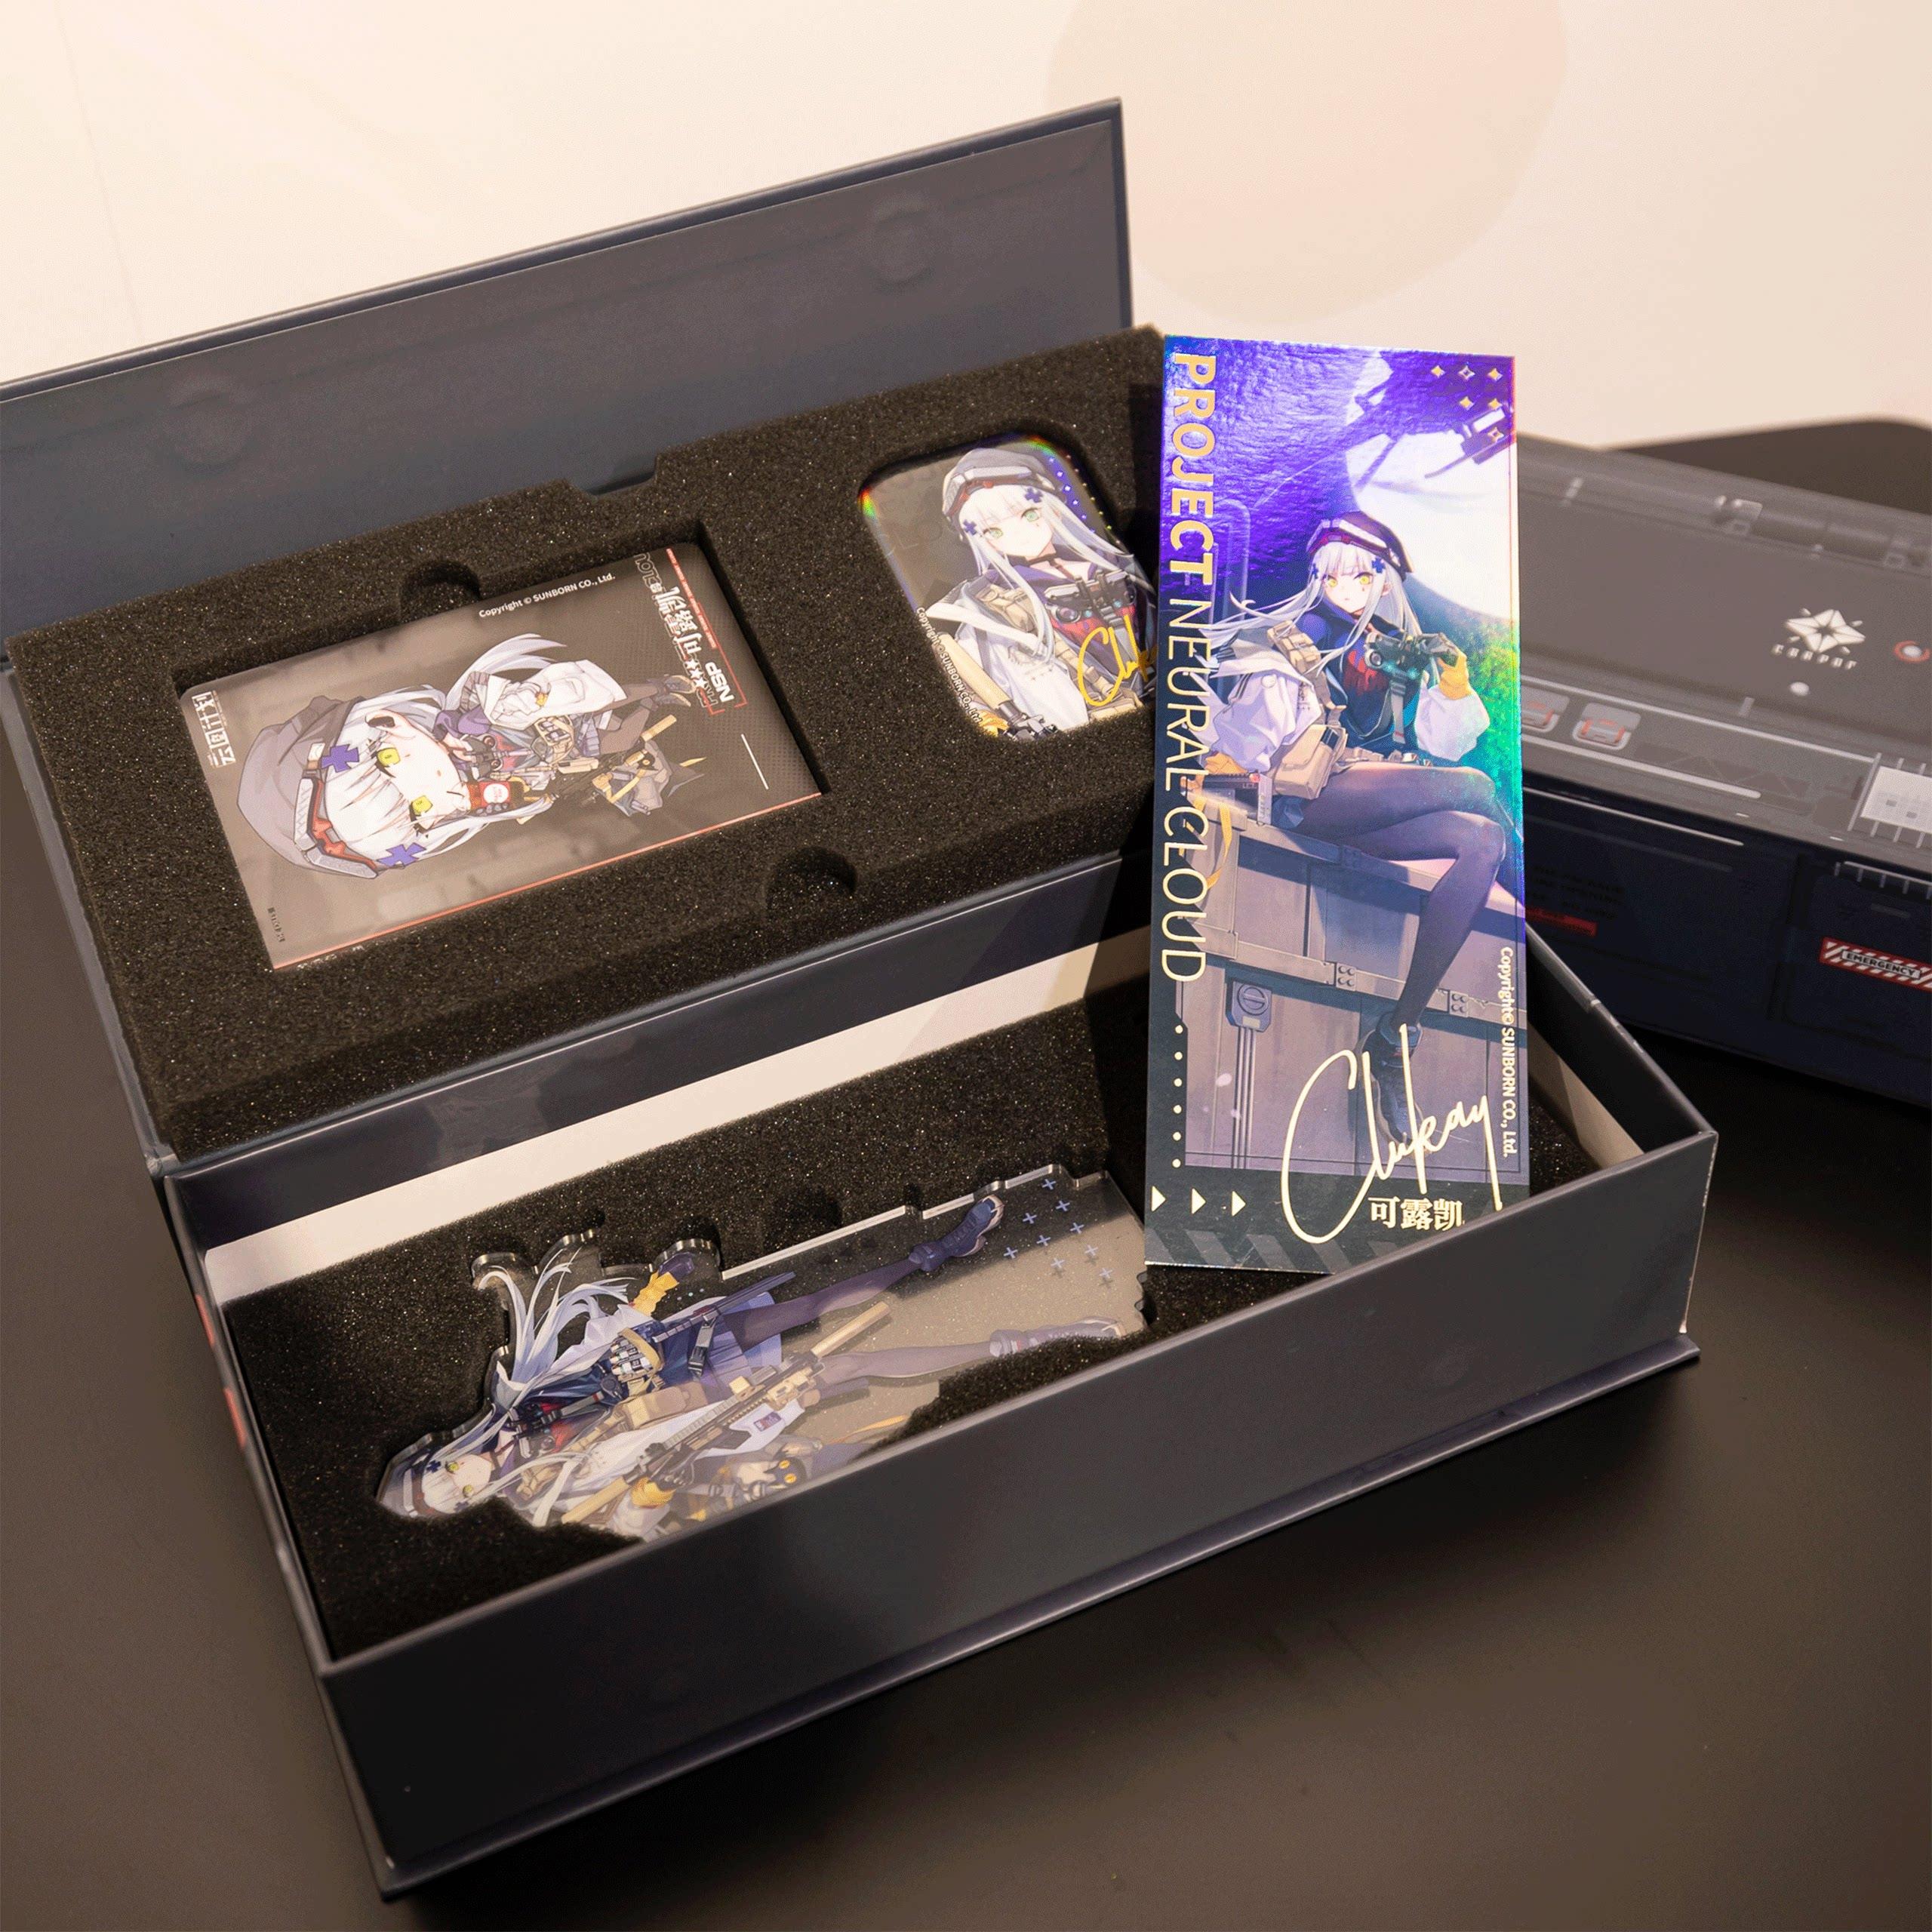
A good insert starts with a clear product layout. Do not design the insert first and try to squeeze your products into it later.
List every item in your gift set, then record its dimensions, weight, shape, and surface finish.
For example, a custom merchandise gift set may include:
- One acrylic standee
- Two acrylic keychains
- One tinplate badge
- One printed card
- One small branded accessory
Plan a separate space for each item. Keep products with hard edges or different surface finishes from rubbing against one another.
Create a Product Placement Plan
Use a simple layout drawing to show the position of every item. Mark each compartment’s length, width, depth, and orientation.
Consider these questions:
- Can customers see the main product as soon as they open the box?
- Can customers remove each item without bending or scratching it?
- Does each product stay in place when the box moves?
- Can your team pack the gift set without wasting time?
- Does the layout leave enough room for product variation and manufacturing tolerances?
Give the hero product the most visible position. Place smaller accessories around it in a balanced layout.
For anime merchandise, for example, you could position an acrylic standee in the center, place keychains in side compartments, and add a branded card at the top. This arrangement helps customers understand the collection and gives each item its own space.
4. Protect Products With the Right Compartment Design
A packaging insert should do more than separate products. It should address the specific risks each item faces during handling and shipping.
Protect Acrylic Merchandise From Scratches
Acrylic standees and keychains often feature printed artwork and polished edges. Contact with other products, loose accessories, or rough insert surfaces can damage their appearance.
To reduce this risk:
- Give each acrylic item its own compartment.
- Avoid direct contact between printed surfaces and hard accessories.
- Consider individual protective sleeves where appropriate.
- Keep cut edges and compartment corners away from vulnerable printed areas.
- Check whether the insert holds the product securely without excessive pressure.
For acrylic standees, account for both the standee and its base. If the design uses a separate base, give the base its own space so it cannot rub against the printed panel.
Prevent Movement During Shipping
A compartment that looks correct on a design screen may not hold the product securely during transportation.
Leave enough clearance for easy removal, but do not leave so much space that the product moves freely. Consider the product’s weight, shape, and center of gravity when you design the insert.
For heavier products, reinforce the areas that support their weight. For delicate products, add suitable cushioning around vulnerable edges.
Your supplier should evaluate the complete packaging structure, not just the insert material.
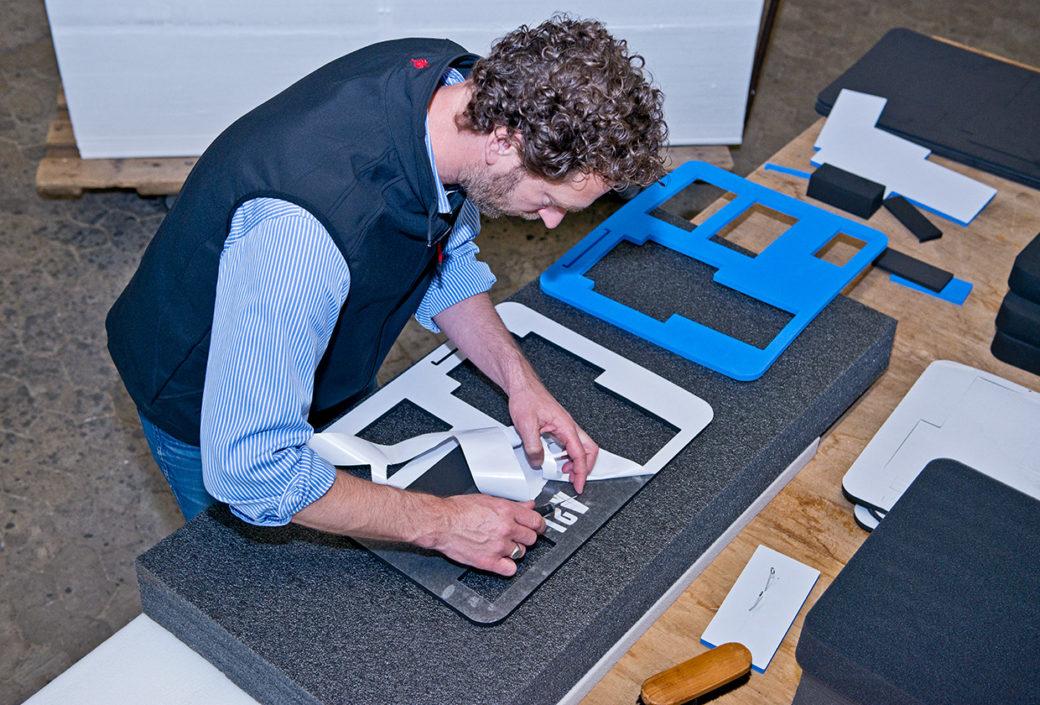
5. Match the Insert to the Box Dimensions
Your insert and outer box must work as one packaging system.
Start by confirming the box’s internal dimensions. Do not rely only on its external dimensions, because board thickness and box construction reduce the available space inside.
Then calculate the space required for:
- Every product and compartment
- The insert’s outer edges
- Protective sleeves or bags
- Printed cards, manuals, or thank-you notes
- The lid and closing structure
Avoid a fit that forces the insert into the box or leaves excessive gaps around its edges.
Also consider how your team will place the insert inside the box. A design that fits perfectly but requires slow, difficult assembly can increase labor costs during a bulk order.
Before mass production, confirm the insert dimensions with a physical sample and test the complete box assembly.
6. Use the Insert to Strengthen Your Brand Identity
Your insert can do more than hold products. It can make the gift set feel like a complete brand experience.
Coordinate Colors and Graphics
Match the insert’s colors with your brand identity, outer box, and merchandise design. A consistent color system makes the entire set look more intentional.
You can use printed patterns, a logo, a short message, or simple graphic elements. Keep the layout clean so the packaging supports the products rather than competing with them.
Add a Brand Message or Printed Card
A small card can introduce your brand, explain the collection, or share a thank-you message.
For corporate promotional gifts, you might include a welcome message or a short company introduction. For licensed merchandise projects, you can use approved artwork and brand assets according to the rights holder’s requirements.
Create a Premium Unboxing Experience
Customers often notice the order in which they discover products. Place the main item where it attracts attention first, then arrange supporting items around it.
You can also add a paper cover, a printed insert card, or a simple reveal layer when the budget allows.
However, extra layers do not automatically create a better experience. Each component should support a clear purpose, such as protection, information, branding, or presentation.
7. Balance Packaging Quality With Wholesale Cost
For B2B buyers and retailers, packaging design must support both customer experience and business margins.
A complex insert may look impressive, but it can increase material costs, tooling expenses, packing time, and shipping volume.
Before finalizing your design, compare the full cost rather than the insert’s unit price alone.
Review these factors:
- Material cost: Compare suitable materials and thicknesses.
- Tooling and setup: Ask whether the design requires a cutting die, mold, or custom tray.
- Assembly time: Estimate how long your team needs to pack each gift set.
- Shipping volume: Check whether the insert or box increases the package size.
- Product damage risk: Consider how suitable protection may help reduce avoidable damage and replacement costs.
- Repeat orders: Choose a structure that your manufacturer can reproduce consistently.
You can often simplify a layout without sacrificing its main function. For example, use one shared insert structure for products with similar dimensions, or reserve custom-shaped cavities for the most delicate or visually important items.
When you request wholesale pricing, ask your supplier to separate the insert, outer box, printing, tooling, and assembly costs where possible. This breakdown helps you compare quotations more accurately.
8. Prepare Clear Specifications for Custom Manufacturing
A professional insert design needs measurable specifications. Instructions such as “make it fit well” or “use premium packaging” leave too much room for interpretation.
Prepare a packaging specification sheet before you request a quotation.
Include the following details:
Product information
- Product names and quantities
- Dimensions and weights
- Surface finishes and fragile areas
- Individual packaging requirements
Insert information
- Preferred material and thickness, if known
- Compartment dimensions and positions
- Required cushioning and product clearances
- Color, printing, and finish requirements
Outer packaging information
- Box type and internal dimensions
- Insert placement and closing method
- Printed cards or additional accessories
- Target packing configuration
Order information
- Estimated order quantity
- Sample requirements
- Target wholesale price
- Delivery destination and expected schedule
- Forecast for repeat orders
Attach clear product drawings or reference photos. If you already have a box design, share the dieline or internal measurements with your manufacturer.
You do not need to finalize every technical detail yourself. Share your requirements and ask your supplier to recommend a practical structure.
9. Test a Physical Sample Before Bulk Production
A digital drawing can show the layout, but a physical sample reveals how the insert performs with real products.
Ask your manufacturer to create a sample with the intended insert, outer box, and merchandise whenever practical.
Use the sample to check:
- Whether every product fits its compartment
- Whether customers can remove items easily
- Whether the insert keeps products separated
- Whether the box closes without pressure
- Whether the layout looks balanced
- Whether the packing process works efficiently
Next, test the complete package under conditions that reflect your shipping route and handling risks. Use an appropriate packaging test plan for the product’s weight, fragility, and distribution method.
Record any problems, update the specifications, and approve the revised sample before you authorize bulk production.
For repeat orders, keep the approved sample, artwork files, dimensions, and packaging specifications as reference records. These records help your manufacturer maintain consistency when you reorder the same gift set.
10. Work With a Manufacturer That Understands Custom Gift Sets
Packaging inserts involve more than cutting material to shape. Your supplier needs to understand the relationship between the products, insert, outer box, branding, assembly process, and shipping requirements.
When you evaluate a custom merchandise manufacturer, ask whether the team can:
- Coordinate multiple products in one gift set
- Recommend suitable insert materials and structures
- Develop samples before mass production
- Check compartment dimensions and product fit
- Coordinate custom printing and packaging
- Maintain quality control across bulk orders
- Support re-orders and future product variations
A factory-direct supplier in China may also help you coordinate custom merchandise and packaging through one production workflow. This can simplify communication when your project includes acrylic standees, keychains, badges, cards, and branded boxes.
Before you place a bulk order, confirm the scope of the supplier’s services, production capacity, lead time, quality control process, and responsibility for each packaging component.
Packaging Insert Design Checklist
Use this checklist before approving your custom merchandise gift set:
-
We have listed every product and its dimensions.
-
Each item has enough space and suitable protection.
-
The insert matches the box’s internal dimensions.
-
The layout supports clear product presentation.
-
The materials match the product’s weight and surface finish.
-
The insert supports efficient packing and unpacking.
-
We have reviewed material, tooling, assembly, and shipping costs.
-
We have checked all artwork, colors, and printed messages.
-
We have tested a physical sample with the actual products.
-
We have approved the specifications for bulk production and future re-orders.
Final Thoughts
A successful packaging insert combines product protection, clear presentation, brand identity, and practical manufacturing requirements.
Start with your merchandise, define the job of each compartment, choose materials that suit your products, and test the complete packaging system before placing a bulk order.
When you work with an experienced custom merchandise manufacturer, you can coordinate product design, packaging inserts, printing, and assembly in one workflow. This approach helps B2B buyers, retailers, and wholesalers build gift sets that look professional and support repeat orders.
Looking for a factory-direct partner for custom merchandise gift sets?
BOCE GIFTS helps B2B buyers explore custom merchandise and OEM/ODM solutions for branded gifts, acrylic products, and promotional items. Contact our team to discuss your product mix, packaging requirements, target quantity, and wholesale pricing.